Apps to Design Your Barbershop Interior: Tools and Layout
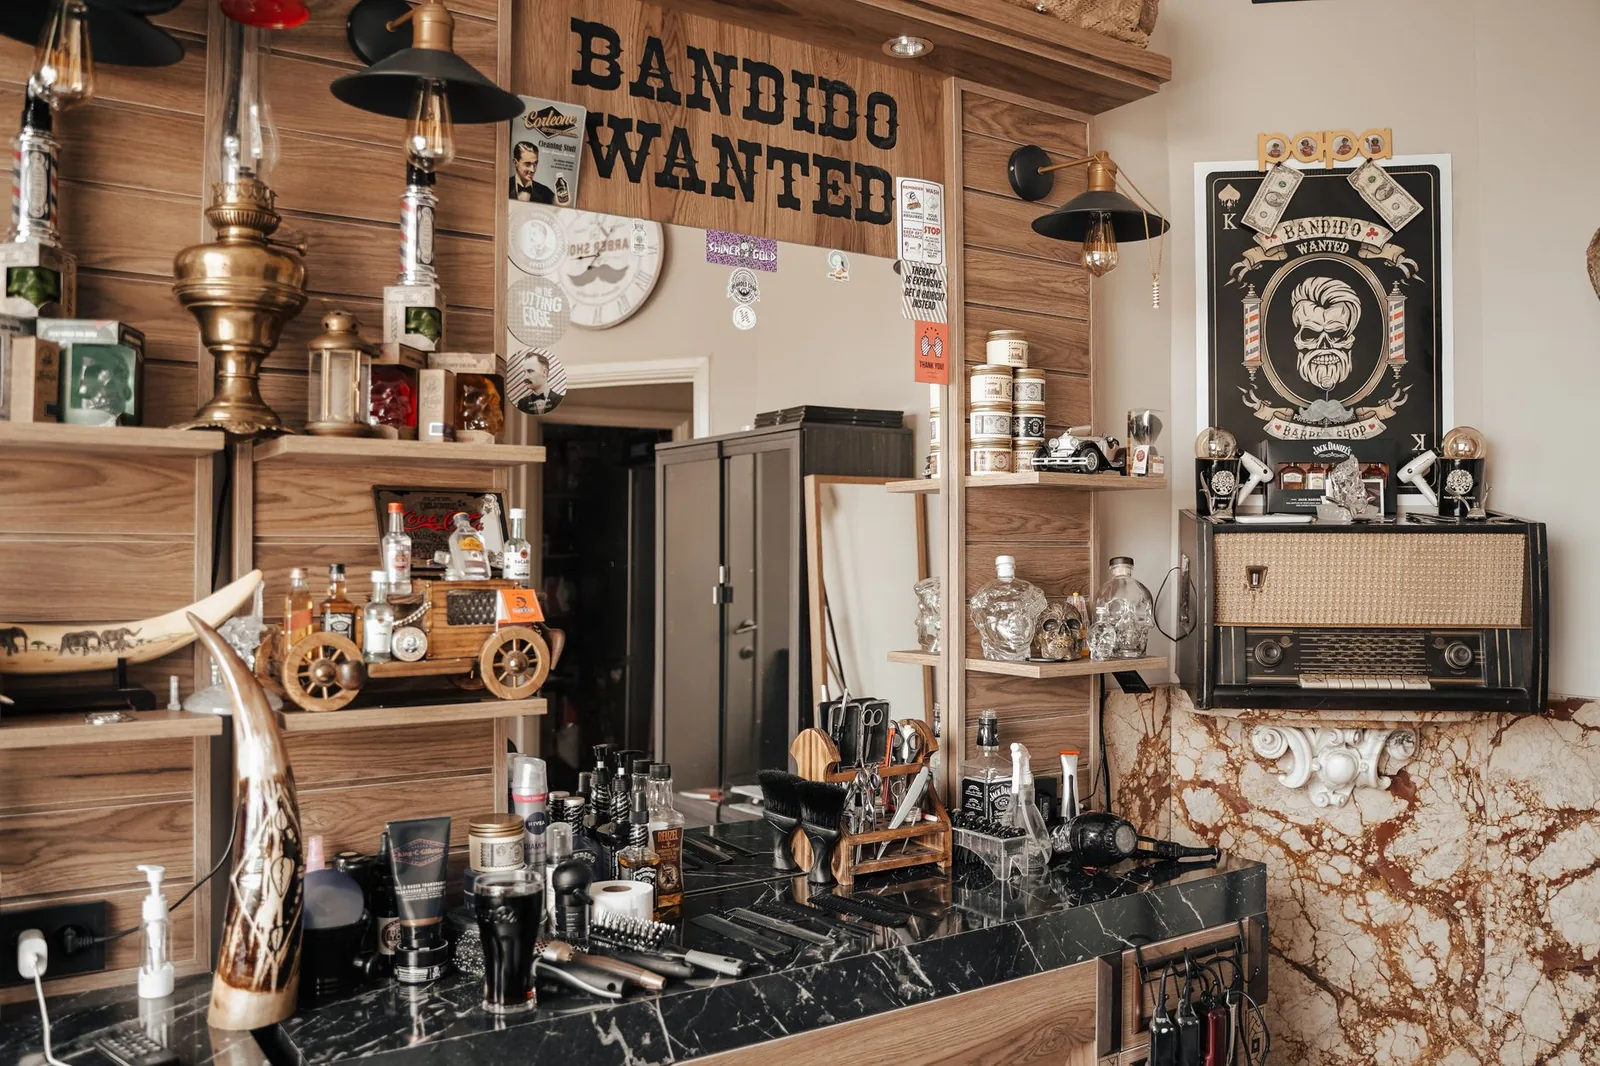
Three chairs, two mirrors, and a waiting area that fits exactly two people — sound familiar? That's the layout problem most barbershop owners face before opening day. You know how many clients you want to serve, but translating that into a physical space where barbers can move without bumping elbows is a different skill entirely.
The good news: you don't need to hire an interior designer or guess on graph paper. Several free and low-cost apps let you build a scaled floor plan, test different chair arrangements, and visualize the result before you sign a lease or buy your first barber chair. Here's a practical guide to the tools worth your time and the layout principles that make a barbershop actually work.
Why Your Barbershop Layout Matters More Than You Think
A poorly planned barbershop doesn't just look bad — it actively costs you money. When barbers can't move freely around their chairs, appointments take longer. When clients can't tell where the waiting area ends and the cutting floor begins, the room feels chaotic. And when you realize too late that you could have fit a fourth chair along the back wall, that's revenue left on the table every single day.
According to the Small Business Administration's guidance on retail space planning, your physical layout directly affects customer flow, employee productivity, and ultimately your profit margins. For a barbershop specifically, the key constraints are: chair spacing (each barber needs roughly 4–5 feet of clearance behind the chair for trimming and fading), wet station proximity to plumbing, and a waiting zone that doesn't bleed into the work area.
A barbershop in Guadalajara I spoke with recently went from three chairs to four simply by rotating their layout 90 degrees — the owner discovered that a longitudinal arrangement along the side wall wasted the center of the room, while an angled setup freed up nearly 18 square feet of usable space. That's one extra chair's worth of daily revenue, found with a floor plan app and thirty minutes of experimentation.
Best Apps for Designing Your Barbershop Interior
You don't need CAD training or an expensive software license. These are the tools that actual shop owners use to plan their spaces, ranked by how practical they are for a non-designer.
Planner 5D
Probably the most popular interior design app for non-professionals. You draw your floor plan in 2D (entering real wall measurements), then switch to 3D to see the space with furniture, lighting, and textures. The free version covers basic floor planning; paid plans unlock a larger furniture library.
Best for: Visual learners who want to see what the shop will actually look like, not just a top-down blueprint. The 3D walkthrough helps you catch issues like a mirror placed too close to a window where glare becomes a problem.
Practical tip: Use the generic furniture items (chairs, cabinets, counters) as stand-ins for barber chairs and stations. The exact brand-name items won't be in the library, but the dimensions are what matter — measure your actual chairs and create a custom item with those specs.
RoomSketcher
Originally built for real estate listings, RoomSketcher has become a go-to for small business owners planning retail spaces. The draw-by-dragging interface is intuitive, and the app produces clean, professional-looking floor plans that you can share with a landlord, contractor, or partner.
Best for: Owners who need a presentable floor plan to show a landlord or include in a business plan for a loan application. The output looks professional without hiring a draftsperson.
SketchUp Free (Web)
SketchUp is the tool that bridges the gap between consumer apps and professional 3D modeling. The free web version has a steeper learning curve than Planner 5D, but it gives you precise control over every dimension — which matters when you're trying to fit a specific barber chair model into a tight corner.
Best for: Owners who are comfortable with technology and want exact control. If you've ever used a spreadsheet to calculate things, you can learn SketchUp. There are also free SketchUp models of barber chairs and salon stations in the 3D Warehouse community library that you can drop directly into your plan.
Floorplanner
A browser-based tool that strikes a good balance between ease of use and precision. The free tier lets you create one project at a time in 2D with a quick 3D preview. It's faster to learn than SketchUp and more dimensionally accurate than Planner 5D's free version.
Best for: Quick iterations. If you want to test five different chair arrangements in an afternoon, Floorplanner's drag-and-drop speed makes it the fastest option.
Homestyler
Backed by a major architecture software company, Homestyler offers a free 3D floor planner with a surprisingly large furniture and materials library. The rendering quality is strong — you can generate photorealistic images of your planned space.
Best for: Owners who want to visualize finishes and lighting before committing. If you're deciding between dark accent walls and an all-white aesthetic, Homestyler's render quality helps you see the difference clearly.
Key Measurements Every Barbershop Floor Plan Needs
Before you open any design app, write these numbers down. They're the minimum clearances that keep a barbershop functional and comfortable — derived from standard barber chair dimensions and the space a barber needs to work safely around all sides of the head.
| Element | Minimum Clearance | Recommended |
|---|---|---|
| Space behind barber chair (for the barber) | 3.5 ft (1.07 m) | 4–5 ft (1.2–1.5 m) |
| Distance between chair centers | 6 ft (1.83 m) | 7–8 ft (2.1–2.4 m) |
| Aisle width (main walkway) | 3 ft (0.91 m) | 4 ft (1.22 m) |
| Waiting area per person | 6 sq ft (0.56 m²) | 10–12 sq ft (0.9–1.1 m²) |
| Wash basin to nearest chair | 5 ft (1.52 m) | 6–7 ft (1.8–2.1 m) |
A common mistake is planning only for the chair footprint and forgetting that the barber needs to stand behind it, beside it, and sometimes kneel in front of it. The chair itself might be 4 feet wide, but the functional space it occupies is closer to 10 feet deep when you account for the barber's working zone, a counter behind for tools, and client access from the front.
For waiting areas, the International Building Code's occupancy load calculations suggest roughly 5–7 square feet per standing person and 10–15 square feet per seated person in assembly spaces. Apply the higher number — your clients are seated, and nobody wants to feel packed in while they wait.
Step-by-Step: Planning Your Barbershop Layout in an App
Here's the workflow that actually gets you from blank screen to a buildable plan. I'll use Planner 5D as the example, but the steps translate to any of the apps above.
Step 1: Measure the space accurately
Don't estimate. Get a laser measure (they're inexpensive at any hardware store) and record every wall, door, window, and permanent obstruction. Note where plumbing lines run (critical for wash stations) and where electrical outlets are. If you're still choosing between locations, ask the landlord for an existing floor plan — many have one.
Step 2: Draw the shell
In the app, start with the exterior walls at their exact dimensions. Add doors (noting which way they swing), windows, and any structural columns or built-in elements. This is your canvas — everything else fits inside it.
Step 3: Place fixed elements first
Some things can't move: plumbing connections for wash basins, the main electrical panel, entrance doors. Place these in the app first because they constrain everything else. If your sink has to be against the back wall, your station layout has to work around that.
Step 4: Test chair arrangements
This is where you iterate. Drag in chair placeholders and try at least three configurations:
- Linear (all chairs along one wall): Simple, maximizes the opposite wall for storage and waiting area. Works in narrow spaces but can feel like a production line.
- L-shaped (chairs along two adjacent walls): Good for square rooms. Creates a natural focal point and lets each barber have slightly more privacy.
- Island (chairs grouped in the center): Best for larger spaces. Looks premium and creates a natural perimeter for waiting and retail. Requires more square footage.
For each layout, check: Can the barber walk fully around the chair? Can a client reach the chair without crossing another barber's workspace? Is there a clear path from the entrance to the waiting area to the chair?
Step 5: Add the supporting zones
Once chairs are placed, add: a reception/check-in point near the entrance, a waiting area with seating, a tool storage and sanitization station, a wash station (if you offer shampoos or hot towel treatments), and a retail display (products you sell). Each of these zones should feel distinct without needing physical barriers.
Step 6: Review the flow in 3D
Switch to the 3D view and do a mental walkthrough. Enter as a client — can you immediately tell where to go? Sit in the waiting area — can you see when a barber is ready for you? Stand behind each chair as a barber — do you have everything within arm's reach?
Layout Ideas for Different Barbershop Sizes
A two-chair independent shop and an eight-chair busy barbershop have completely different design problems. Here's what works for each.
The 2–3 Chair Independent Shop (Under 500 sq ft)
In a small space, every square foot does double duty. Your reception desk can also be your retail counter. Your waiting area might be two chairs and a bench rather than a dedicated lounge. The key is keeping the cutting area visually distinct — even a different floor texture or a rug defines the zone without building walls.
Focus on vertical space: wall-mounted tool cabinets instead of floor-standing ones, floating shelves for retail product, and mirrors that go floor-to-ceiling to make the room feel larger. One overhead light per chair is essential because small shops can't afford shadows on the cutting surface.
The 4–6 Chair Barbershop (500–900 sq ft)
This is the sweet spot where layout decisions start affecting team workflow. With four or more barbers working simultaneously, you need a clear traffic pattern — ideally a loop rather than a dead-end aisle. The wash station (if you have one) should be accessible from any chair without crossing through another barber's space.
Consider a central island for tools, towels, and sanitization. Each barber can reach it quickly, and it creates a natural boundary between the cutting floor and the waiting area on the opposite side.
The 7+ Chair or Multi-Location Shop (Over 900 sq ft)
At this scale, zone planning becomes critical. Group your chairs into pods of 3–4, each with its own tool station and mirror cluster. This prevents the "airline gate" feeling where the room looks like an endless row of identical stations. Create a dedicated waiting lounge that's visually separated from the work floor — clients should feel like they're in a different zone, not watching the person in the next chair get their fade.
For multi-location operations, the design app becomes even more valuable: you can save your proven layout as a template and adapt it to each new location's dimensions. Consistency across locations reinforces your brand and helps barbers transfer between shops without relearning the space.
Common Layout Mistakes That Hurt Your Daily Operations
Design apps are great for avoiding mistakes — but only if you know what to look for. These are the issues that show up after opening day, when they're expensive to fix.
Mistake 1: Forgetting about cord management. Clippers, trimmers, and hot towel warmers all need power. If your floor plan doesn't account for outlet placement, you'll end up with extension cords crossing walkways — a tripping hazard and a code violation in many municipalities. Plan outlet locations in the app before you build.
Mistake 2: No dedicated sanitization zone. Health and safety standards require proper tool cleaning between clients. A sink or sanitization station that's too far from the cutting floor means barbers waste time walking back and forth — or worse, skip the step. Place sanitization within 6–8 feet of each chair cluster.
Mistake 3: Waiting area as an afterthought. If clients are standing because there's nowhere to sit, or hovering awkwardly near the cutting floor, your layout has failed. Plan seating for at least 30% of your maximum chair capacity — if you have six chairs, plan for at least two people waiting comfortably.
Mistake 4: Insufficient lighting planning. Each barber chair needs dedicated task lighting from multiple angles — typically an overhead directional light plus side lighting from the mirror area. Ambient lighting for the waiting area should be warmer and dimmer. Plan lighting placement in your design app, not after the electrician has already finished.
Mistake 5: Ignoring the retail opportunity. Product sales can add 10–20% to a barbershop's revenue. If your layout doesn't include a visible, accessible retail display near the checkout point, you're leaving that money on the table. Plan it into the app from day one.
Where Stylera Fits In
Once the physical layout is locked in and the doors are open, the design app's job is done — and the daily operations take over. That's where Stylera comes in.
Stylera handles the digital side of your barbershop so the physical space runs smoothly. The 24/7 online booking page means clients book against real-time chair availability without calling the shop — so your front desk (or the barber between cuts) isn't interrupted. The calendar per barber prevents double-bookings on those carefully planned chairs, and automatic reminders via SMS and email cut down on no-shows that leave your layout's fourth chair sitting empty. When someone does cancel last minute, the waitlist feature automatically offers that slot to the next interested client, so your optimized floor plan stays at full capacity.
For multi-chair shops, staff and service management lets each barber have their own schedule, service list, and pricing — mirroring in software what your floor plan established in physical space. And the reports give you per-barber performance and revenue numbers, so you can see whether that fourth chair you agonized over in the design app is actually paying for itself.
Wrapping Up
Designing your barbershop layout in an app before you build saves time, money, and the painful realization that you measured wrong. Start with accurate measurements, test multiple arrangements, and focus on the functional clearances — the aesthetics will follow naturally from a space that works. Planner 5D, Floorplanner, and SketchUp are all solid starting points depending on how detailed you want to get.
Once the space is built and the chairs are in position, what you need is a system that keeps every chair booked and every client showing up. If you're at that stage, give Stylera a free try — it handles the bookings, reminders, and daily schedule so you can focus on the craft happening in the space you designed.
Preguntas frecuentes
¿Qué aplicaciones gratuitas puedo usar para diseñar el plano de mi barbería?
Existen varias aplicaciones gratuitas ideales para planificar el interior de una barbería sin necesidad de contratar un diseñador. Planner 5D es la más popular y permite crear planos en 2D con medidas reales para luego visualizarlos en 3D. Floorplanner es excelente para probar rápidamente varios arreglos de sillas en una sola tarde, mientras que RoomSketcher genera planos profesionales ideales para mostrar al propietario del local o incluir en un plan de negocios. Homestyler destaca por la calidad de sus renderizados fotorrealistas si quieres visualizar acabados e iluminación antes de comprometerte.
¿Cuánto espacio necesita haber entre cada silla de barbero en mi local?
La distancia mínima recomendada entre los centros de cada silla de barbero es de 6 pies (1.83 metros), aunque lo ideal es mantener entre 7 y 8 pies (2.1 a 2.4 metros) para que los barberos puedan trabajar cómodamente. Además, cada silla necesita un espacio libre detrás de al menos 3.5 pies (1.07 metros), recomendándose entre 4 y 5 pies (1.2 a 1.5 metros) para que el barbero pueda realizar cortes y degradados sin restricciones. Respetar estas medidas evita que las citas se alarguen innecesariamente y mejora la productividad del negocio.
¿Por qué es importante planificar bien la distribución de mi barbería antes de abrirla?
Una mala distribución no solo se ve mal, sino que te hace perder dinero directamente: los cortes toman más tiempo, el ambiente se siente caótico y podrías desaprovechar espacio para sillas adicionales que generarían más ingresos. Un caso real: una barbería en Guadalajara logró pasar de tres a cuatro sillas simplemente rotando su distribución 90 grados, descubriendo que un acomodo en ángulo liberaba casi 18 pies cuadrados de espacio utilizable. Planificar con una aplicación de diseño antes de firmar un contrato de renta o comprar el mobiliario te permite experimentar con diferentes configuraciones sin costo alguno.
¿Puedo diseñar el interior de mi barbería sin tener experiencia en diseño o arquitectura?
Sí, absolutamente. No necesitas formación en CAD ni licencias de software costoso para crear un planos a escala de tu barbería. Aplicaciones como Planner 5D y Floorplanner tienen interfaces de arrastrar y soltar diseñadas específicamente para personas sin experiencia técnica, permitiéndote ingresar medidas reales de tus paredes y mobiliario. Para los que quieren mayor control sobre cada dimensión, SketchUp Free en su versión web ofrece precisión profesional con una curva de aprendizaje manejable, e incluye modelos gratuitos de sillas de barbero y estaciones en su biblioteca 3D Warehouse que puedes integrar directamente a tu plano.
¿Qué medidas mínimas debo considerar para los pasillos y áreas de espera en mi barbería?
El pasillo principal o zona de tránsito debe tener un ancho mínimo de 3 pies (0.91 metros) para que los clientes y barberos puedan moverse sin estorbarse. Es igualmente importante que el área de espera esté claramente separada de la zona de trabajo para evitar que el espacio se perciba desorganizado. Las estaciones húmedas deben ubicarse cerca de la instalaciónes de plomería existentes para reducir costos de remodelación. Definir estas zonas claramente en tu plano antes de abrir mejora tanto la experiencia del cliente como la eficiencia operativa del local.